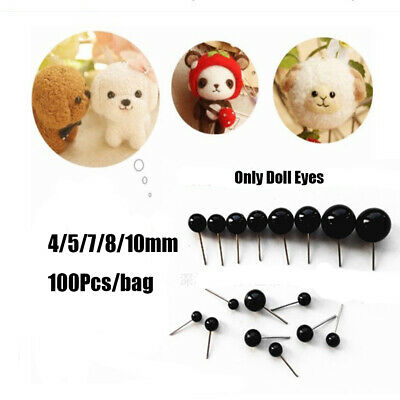
If you're learning how to needle felt eyes, there are a few things you need to know. For the iris, you should start with a grey or green colour for the eye irises. Once the iris is complete, you can work on the pupil. If you want to add character to the pupils, try adding white or light grey flecks. The irises should be slightly larger than the eye, but you should keep this in mind when felting the eye.
To needle felt the eyes, you should start by determining the size of the pupils. Then, you should place the black wool in the centre of the pupil. Once the pupil is completed, add the white wool on top of the black circle. Then, you need to carefully work on the outer edge of the pupil. It's best to use a thin, grey wool to make the edges of the eyelids.
Once you've completed your eyelids, you can move on to the eyelids. If you want the eyes to be more realistic, you should put a small dot in the center of the pupil. You can also add a white sphere to the center of the eye to create the illusion of light reflecting across the eye's surface. Remember that the exact position is not important, but you do want it to be equal on each eye.
After making the eyelids, you can now move on to the eye. To get a perfect eye, you must first make the black circle wider and narrower than the white circle. Once you have the shape, you need to make sure the eyelids are positioned correctly. You can use your hand to feel the edges of the eyes so you can avoid flattening them. You can also use thin grey wool to make the edges of the eyelids.
Once you've mastered the eyelids, you'll need to make the eyes. Once you've made the eyes, you need to add the white dot. Then, stitch the black circle into the eye. Once the eyelids are complete, the next step is to attach the white dot to the center of the black circle. This will give the eye a rounded appearance and add a more realistic look.
After making the eyelids, you need to make the eyes. The eyes can be made of any colour you want, as long as you're careful and use the right tools. Once you've finished the process, you can make the hats' lashes and the ears. It's not necessary to stitch in the eyelids. Once you've made the hats, you'll need to attach the white dot on the nose.
Once you've added the black eyelids, you can now create the eyes. The final step is to add the white dot on the nose. This will give the eyes an impression of light reflecting across the eye surface. The exact position of the dot is not critical, but it should be the same on both eyes. You'll need to manipulate the wool around the eyes and the hat to give it a realistic appearance.
If you're making cat eyes, you'll need to use a black wool for the eyelids. Afterward, you'll need to add white wool to the centre of the eyes. Then, you'll need to insert a white dot on the eyelids. If you're making eyes for a hat, make sure the dot is placed on the outer side of the nose.
After adding the eyelids, you can add the eyes themselves. For the eyes, you can use a black wool for the black spheres. This will help you place the eyes more accurately. You'll need to add white wool for the white dot. You'll need to repeat the process for the other side. A black dot on the eyelids will look more realistic. For the rest of the face, you can continue with the needles.
Using a dark wool for the eyes, you'll need to add a white spot on one side to give the appearance of shiny eyelids. To make the eyes look realistic, they should be black, with a white spot in the middle. If the eyelids are too small, use a white wool for the eyes. If you're creating a cute bear, a white dot on the head will make the eyes look more realistic.


