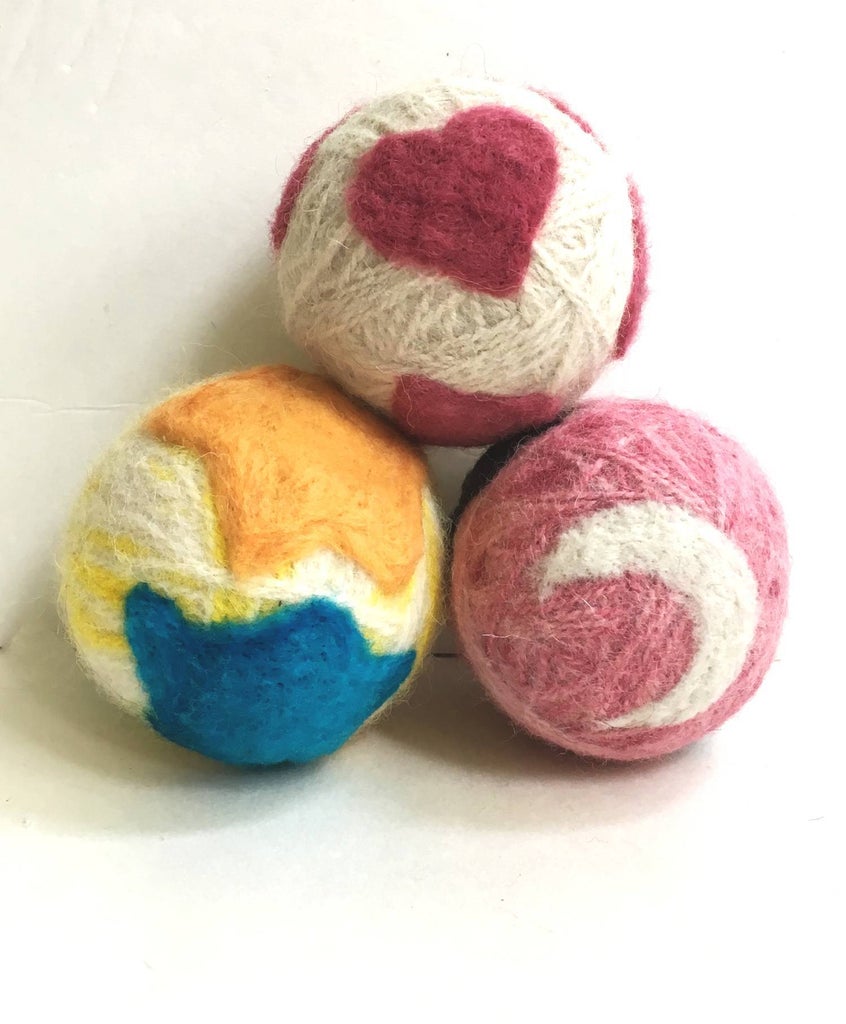
How to needle felt balls is a relatively simple process. Wool roving, which has not been spun into yarn, is a great starting point. You can purchase roving in different colors, but be aware that it is sharp. Using your needle, poke the ball until the fibers stick together. The ball will shrink after felting. Continue this process until your ball is firm enough to hold a shape.
To needle felt a ball, you should cut a small piece of wool roving into two equal halves and knot the halves together in the middle. Once you have the wool roving split, start stabbing the roving with your needle. Be sure to do this quickly and gently. It's important to hold the ball firmly and carefully so that it doesn't break. After you have felt a few times, roll the ball to release the needle.
Lay the wool flat on your felting mat. Begin by feeling all of the wool with your fingers. Once you've shaped the ball evenly, insert your needle into it. Make sure to stab your finger a few times. If you miss a spot, the needle will break and you'll have to start all over again. If you do it wrong, you'll end up with an ugly ball.
Next, you should make a monocolor ball. This type of needle felting ball should take about 10 to twenty minutes to make. The first step to creating a felt ball is to split a small piece of wool roving. Once the wool roving is divided in two, tie the knot in the middle. When you're satisfied with the shape of the ball, roll it to remove any excess wool.
You should try to keep the needle angled. When you get a small hole, make sure to pull the needle out of the wool. This will prevent the needle from breaking your finger. If you want to remove a large hole, you should roll the ball tightly. You can then use your fingers to push it out. Once you have finished, the ball should be firm. Once your wool has felt, you can add or subtract.
The next step is to make your wool roving ball. You can do this by squeezing it with your fingertips. Once the wool is smooth, you can now proceed to needle felt. If you are new to needle felting, a needle will break. When you have rolled your ball, keep the needle in the wool and squeeze. Once the ball is smooth, it is time to cut it in half.
The next step is to shape the ball. You can begin with a monocolor ball, which is a basic needle felting lesson. To needle felt a ball, you should spend 10 to 20 minutes making it smooth. To make a monocolor ball, divide a piece of wool roving. With the needle, stab the wool until it is evenly flat. Then, place the needle in the center of the wool roving.
Once you've mastered the basics, you can start your needle felting project. If you're new to needle felt, try a monocolor ball will take about 10 to 20 minutes to create. You'll need a small piece of wool roving to needle felt. You'll need a piece about the same size as your wool roving. Once the roving is smooth, you can start adding a second layer.
When felting a monocolor ball, you'll need about 10 to 20 minutes to complete the project. A rolled ball will shrink to about one-third of its original size. Then, you can move on to needle felt a second, larger ball. Then, you'll need to use a smaller wool roving. Afterwards, you'll need to stab your fingers to make the needle in the wool.
If you're a beginner, it's best to buy a needle felting kit. It comes with needles, wool, and felting pads. You'll also need wool and felting pads. You can also use your fingers as protective gloves. The needles will be sharp, so make sure to wear some finger protection. It's important to keep in mind that the ball will take several attempts to feel the same way.


