

Needle felting allows you to freely create various works in the shape of animals by piercing wool that is light and soft like cotton with a special needle. For those who want to try making wool felt for the first time, we will tell you the tools, materials and simple recipes to prepare.
- About the technique of needle felting
- Wool type
- Tools needed for needle felting
- Let's make a felt ball first!
- How hard should I pierce?
- Let's make a cute chick with wool felt!
- Conclusion
About the technique of wool felt
There are two main ways to felt fluffy wool. Choose either or both methods depending on what kind of work you want to make.
The first is "Needle Felt," which allows you to make more delicate expressions when making mascots and realistic animals.

The second is "wet felt", which is suitable for making works with a solid texture such as slippers, hats, and tea cozy.

Wool type
Tools needed for wool felt
Here are some tools you should have when you start wool felt.
Felting needle
A special needle for felting wool. There is a "barb" on the needle, and by piercing the wool, the hair is entwined and made into felt. There are many types depending on the manufacturer, such as those that can be stabbed quickly and those with small needle holes for finishing. After trying various things and using it, you can find the one you like. At first, general items such as "regular" from major manufacturers are easy to obtain and easy to use. You can get it at handicraft stores, wool specialty stores, and online.

Felting mat
It is used to prevent damage to the table and needle tip when using the felting needle. You can get it at handicraft stores, wool specialty stores, and online.
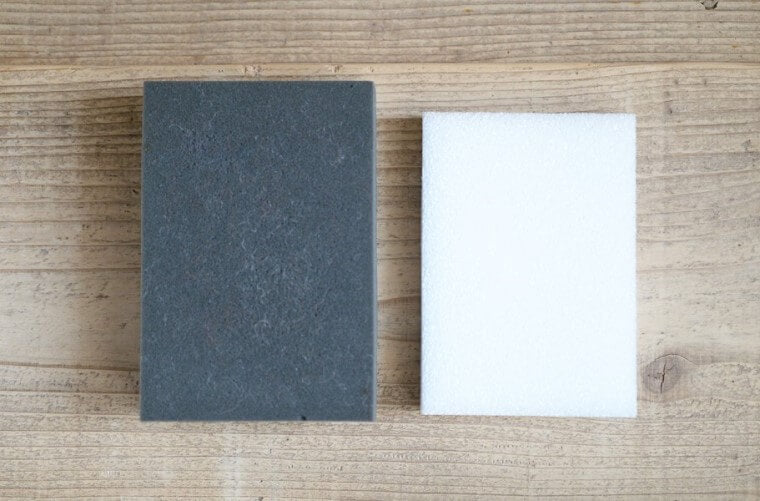
* Both the felting needle and the felting mat are consumables that break or dent during use. Broken needles are especially dangerous, so handle with care.
* Also, be careful not to accidentally pierce your finger with the felting needle. If you get stuck, disinfect it thoroughly and treat it.
Let's make a felt ball first!
The ball is the basic form of wool felt. If you master this method first, you will be able to start making works more smoothly, so please practice it.

How to make
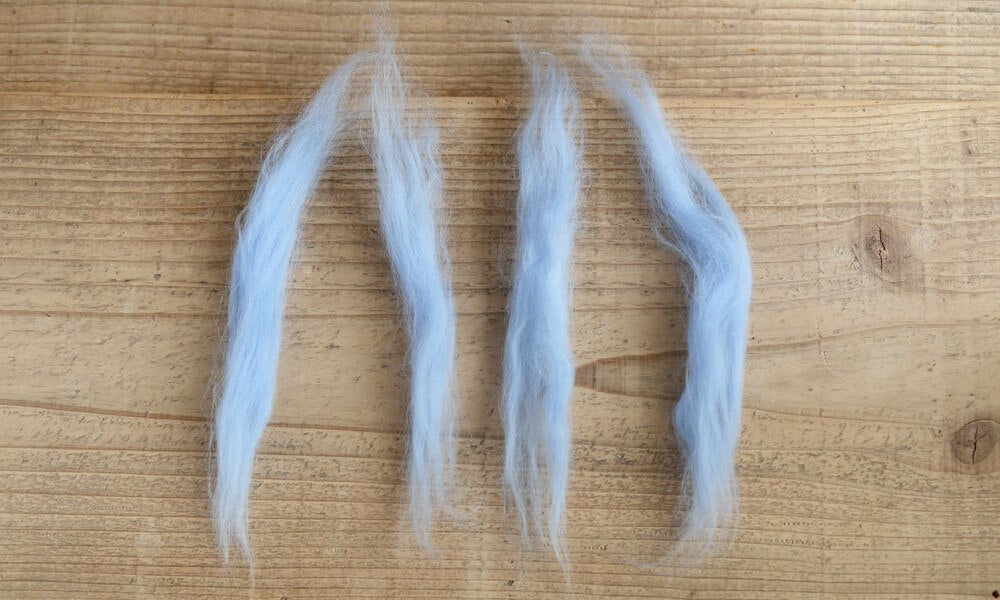
- First, split the wool vertically into 4-5 bundles.

Wrap one of the separated bundles firmly from the beginning. At this time, be careful not to widen the width so that it is as close to the ball as possible.

After winding one bundle, lightly stab it with a needle so that it does not unravel.

Wrap a second bundle. At this time, make sure that the direction of the wool fibers intersects with the direction in which it was first wound.

I finished winding the second bundle. Wrap a third bundle. The orientation of the fibers at this time should intersect the second bundle.

Wrap the rest of the wool in the same way.

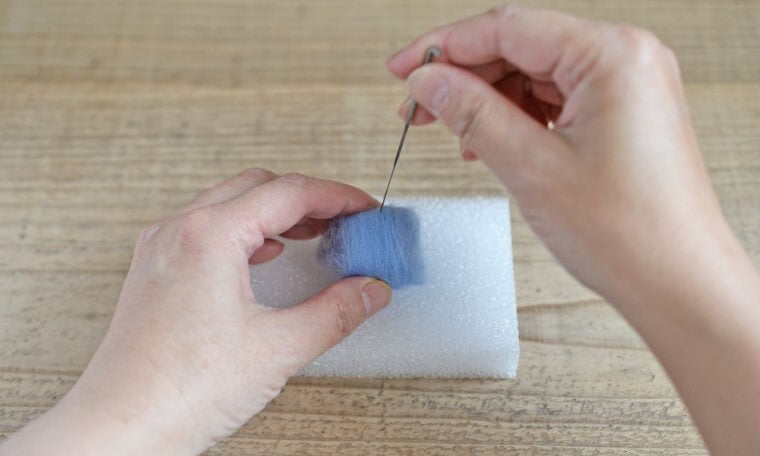
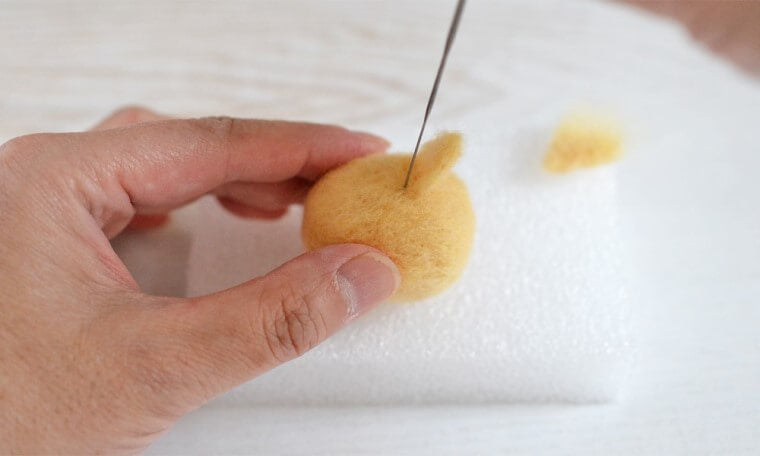
Finally, I will pierce it firmly with a needle.
<①> Insert the needle from directly above and pull it out directly above. This will prevent your fingers from sticking and the needle from breaking.
<②> Do not continue to stab the same place. Rotate the wool with the hand holding the wool so that it sticks evenly over the entire surface of the ball.
<③> Stick firmly to the thickened part of the felting needle.
Occasionally, squeeze it with your fingers and roll it with your palm. Try to rub it, and if there is a soft part, stab it further. If you roll it with your palm, the stitches will be less noticeable.

done!

How hard should I pierce?
The most common question about wool felt is "how hard should I pierce it?" Actually, there are people who pierce until they tick, and people who pierce until it's soft. Harder items such as keychains and straps are less likely to lose their shape, and items that you want to decorate do not need to be stabbed until they become so hard.

Let's make a cute chick with wool felt!
After practicing making balls, let's make a simple piece! How to make a cute chick that can be made using basic techniques.

Material (for one chick)
-
Felt Wool or Acreine (R)Light Yellow 5gDark Yellow or Orange 1g
-
Cuttings (plastic eyes) 3.5mm or 4.0mm 1 set (2 pieces)
Tool
-
Felting needle
-
Felting mat
-
Bond (thing that can bond plastic)
-
Perforation (if not, a felting needle can be used instead)
-
Scissors
-
Cardboard or cardboard 5 cm square 1 sheet
Time required About 40 minutes Finished size Length 3.5 cm x Width 5.5 cm x Height 4 cm

How to make
-
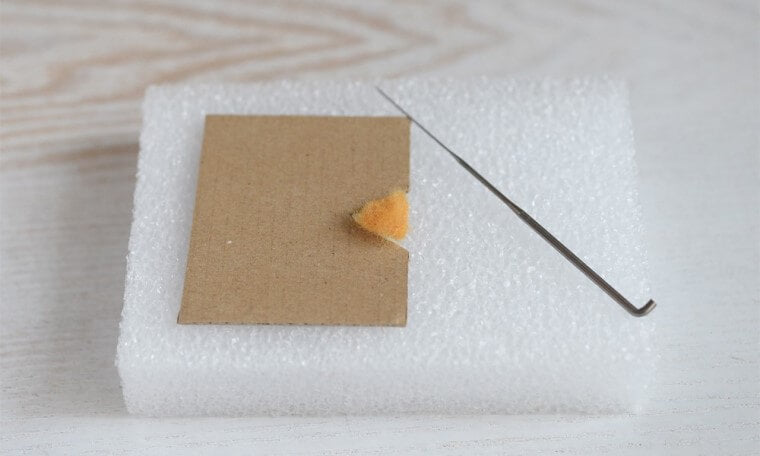
First, make a feather mold. Make a 1 cm x 1 cm cut in the cardboard and cut it into a triangle. The part of this triangular hole is the shape of a feather.

Make feathers. Separate the pale yellow wool for two feathers, in small amounts.
Place the feather pattern on the mat and fit the wool into the triangular part. Stab the wool into a triangle. The part that sticks out of the mold is stabbed sweetly. If you stab it all the time, it will stick to the mat, so sometimes remove it from the mold and stab it inside out. I will make two.


Make a beak. Use dark yellow (or orange) wool to make a beak in the same way as a feather.
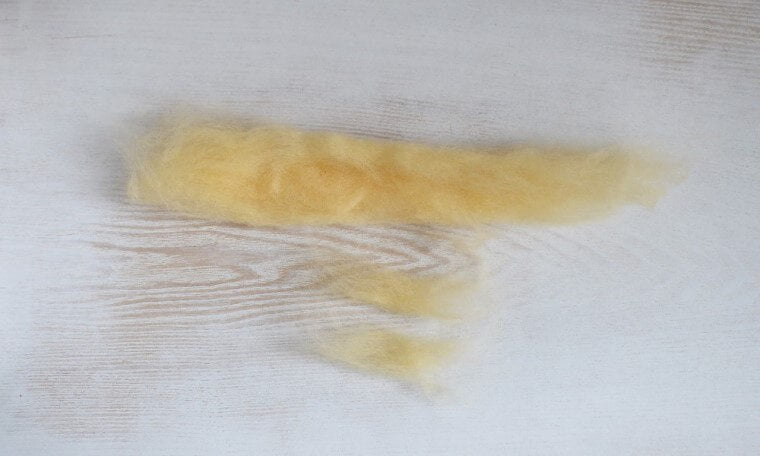
Make a body. Use all the remaining pale yellow wool. In the same way as when making a ball, cut the wool vertically and divide it into 4 to 5 pieces, and wind them firmly in order from the first piece to make one ball.


After rolling all the wool, place it on the mat and stab it with a needle. At first, I'm going to make a round ball. Once you have stabbed the whole thing, aim for an egg shape.


Connect the wings to the body. Stick the part of the feather that was sticking out of the mold around the center of the body. If you stab it from both the top and bottom of the wings, it will stick firmly. Attach left and right.

Stick your beak in the same way as a feather.


Keep an eye on it. Make a hole in the eye position using a perforation or a needle.

I'll put an eye on it. You can change the position as many times as you like before attaching the bond, so please find your favorite face. If the position is good, take it out once, attach a bond and bond it. Only a small amount of bond is enough.

Done! If you can't stand firmly, pierce the bottom with a needle to flatten it.

If you make several and display them so that they can be lined up, it will be more cute.


Conclusion
The only tools needed for wool felt are felting needles and felting mats. You can make it anywhere as long as you have the space above your knees. All you have to do is stab it. It's okay to stop on the way. It will be started soon afterwards. Isn't it easy?
The wool material is colorful and fluffy, soothing just by looking at it. If you're thinking of trying it out, get a small pack of wool of your favorite color. The feelings you want to make will surely overflow!


