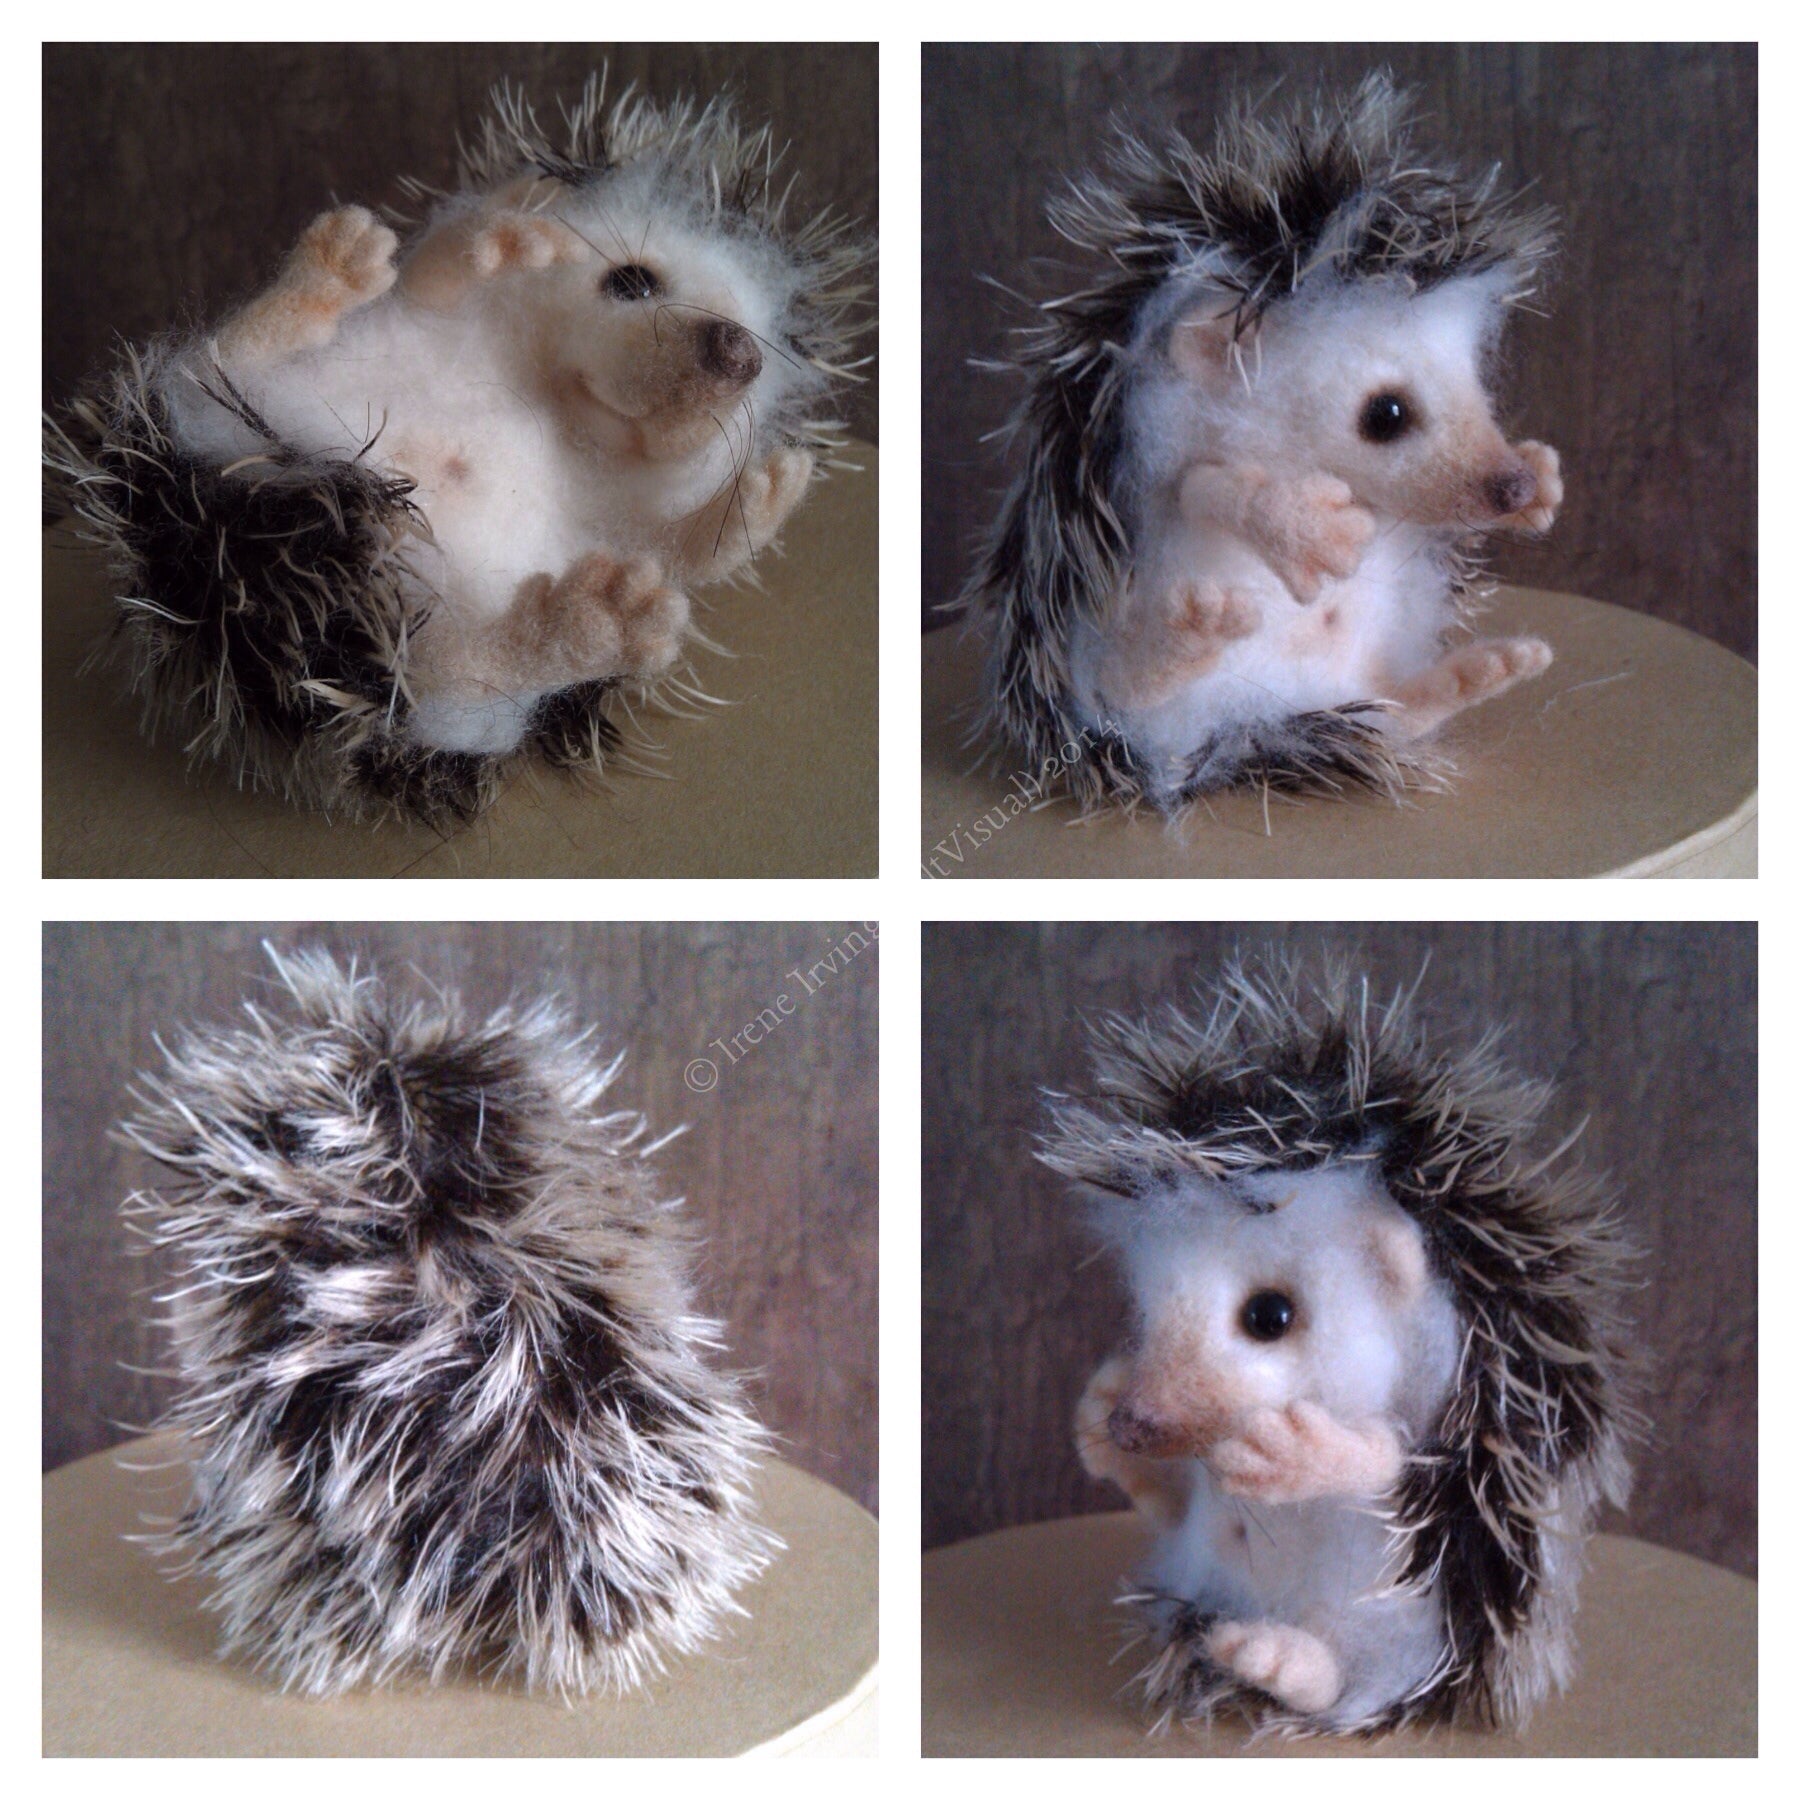
If you've always wanted to make a needle felt hedgehog, you've come to the right place. This tutorial will show you how to needle felt spikes from wool, a material that has a distinctive texture. CB wool is a popular choice for making felt accessories. Its natural texture and slightly coarse texture are perfect for making hedgehog-like spikes. This fabric is made from 100% Mohair.
Once you have your felting materials, you can begin to craft your own needle-felted hedgehog. Felting is a simple craft, and you can find many resources online. Use cookie cutters or other shapes to make the process easier. Using a needle and wool will make the process faster. If you are new to needle felting, you can use a basic shape like a circle or a square.After you've cut out your desired shape, you can use the needle to start needle felting. You can use a very sharp one to make the stitches. Then, poke the ball with the needle straight up or down until it feels dry and rigid. After felting, it will shrink and look like a mini hedgehog. It will also be more sturdy. The process takes about two hours. Using the correct tool can be a tedious process, so follow the instructions closely.
Felting is a fun and easy craft for beginners. Using a cookie cutter will make felting basic shapes easier. Adding cookie cutters will help you make basic shapes and make the process even faster. You can also buy pre-cut cookie cutters to make felting easy. You can use a cookie cutter to make basic shapes easier to work with. This method is great for beginner felters, as it will help you get started quickly and easily.
After creating the basic shapes, you can add detail to the felting process by using a needle. This process is a little time consuming, but the finished product is worth the effort. After you've made the basic shapes, you can move on to the next step, which is the spikes. You can use the same technique for both the baby and adult-sized hedgehogs. If you'd like to add the spikes to your hedgehog, use a needle to create a more intricate shape.
Once you've created the basic shapes, you can begin the process of making the spikes. A single needle is enough to create a single spike, so you can use it for several projects. The needle is sharp, so you'll want to be careful not to damage it. A second option is to make three-dimensional needle felt hedgehogs that are as long as possible. A second technique is to sew the legs with a whip stitch.
Felting is a very simple process. You'll need craft tools and a needle. A felting needle is sharp and sharpens the felt. A pair of scissors will be helpful in this project. After you've made the base of your hedgehog, you can sew on the legs. If you're making a baby hedgehog, you can simply sew the legs on the lower side of the body. If you're making an adult-sized hedgehog, just sew the two legs together.
Now that you've made the base of your needle felt hedgehog, it's time to sew on the legs. Using a sewing needle, sew the legs on the back of the head and the front of the body. To make a baby-sized hedgehog, you'll need to use the same technique. You'll need to have a pair of scissors, a pair of knitting needles, and a sewing table.
Once you've made the base, you can proceed with the legs. To make a baby-sized hedgehog, you'll need to make the legs of the adult-sized hedgehog, and vice versa. Then, you'll need to needle-felt the legs of the adult-sized hedgehog to make it look realistic. You'll need a sewing needle to sew the legs. Then, match up the leg openings.


