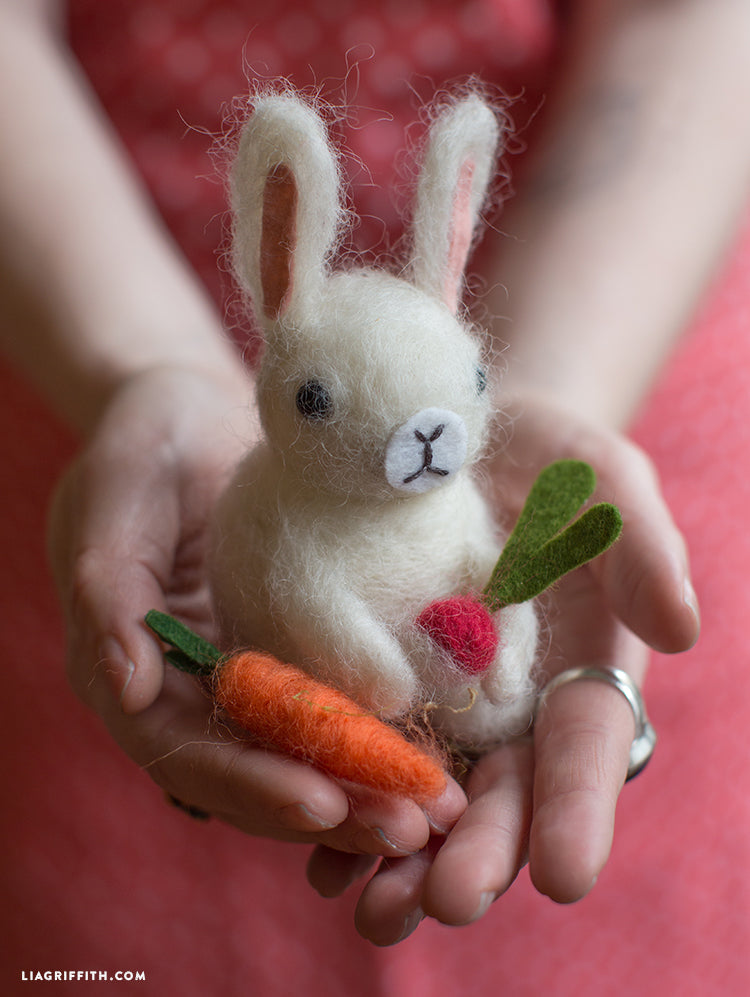
If you want to know how to needle felt a rabbit, you'll have to follow a few simple steps. Once you have a basic understanding of how to needle felt, you'll be able to create a cute, adorable pet. These steps are the same as those for creating other animals. For instance, you can make a rabbit out of your favorite cartoon character! Just make sure you choose the right colored wool for your project.
Start by creating the head and body. You'll need two pieces of rove: a little ball for the head and a larger one for the body. Take a piece of roving and roll it into a ball, about a third the size of the head. Use the needle to stitch the rove to the head. Glue the two pieces of ear to each other. The tail will be attached to the bunny by wrapping the white fiber around it.Then, you'll make the body of the bunny. You'll need to use two roving balls: a larger one for the body and a smaller one for the head. Next, you'll need to use roving that's about a third the size of the body. During this step, make sure to leave a few loose ends at the bottom of the bunny to help secure it to the body.
To make the eyes and the rest of the body, begin by making the head of the bunny from the roving. Once you have shaped the head, you can begin to work on the ears. The ear edges should be thicker than the rest of the body. Using a pair of needles, insert the needles in the roving, mirroring the ear edges. Finally, use a thin, fine, woolly roving for the tail.
For the head, start by creating a large ball to be about a third of the size of the body. Then, use a small ball of roving to make the tail. You should be able to make a white roving ball about a third the size of the head. Lastly, attach the tail with a needle to the body. These steps are very simple and will give you the feeling of a rabbit in no time at all.
To make the body of the bunny, you should first needle felt the roving. You'll need two palm-sized balls for the head and a small ball for the body. Then, use pink roving for the tail and attach it to the body with a needle. You can also add a little hat. If you're making a bunny for Easter, you should use your needles to attach the head and the tail to the body.
To needle felt a bunny, you will need to use a large ball of roving for the body and a small ball of roving for the head. The head and body should be squashy, but you can also make a more defined shape by shaping the body. When you're done, you'll have a cute little rabbit! After completing this step, you'll need to attach the tail and the head to the body.
The body of the bunny is the same as that of a real rabbit. The head should be slightly larger than the body. The roving should be about a third of the size of the body. For the tail, you'll need a finger-sized ball of pink roving. Then, insert the needles at various angles to form the shape of the ears. The last step is to attach the tail to the head.
After assembling the body, you'll need to needle felt the head and body. The head is a finger-sized ball of roving. The body should be a quarter larger than the head. You'll also need to needle felt the tail and the head separately. Once you have all the components, it's time to attach them to the body. The body will now look like a real rabbit.


