If you are wondering how to needle felt a fox, this article will help you make the most realistic critter possible. In this tutorial, we will use light brown wool for the body, and dark brown for the head and tail. To start making your sock fox, you can wrap a medium ball of wool around a pipe cleaner. As you needle felt the body, it will look like an uneven croissant. Once you have created the shape of the fox, you can begin the head and ears by stitching a small piece of coloured wool.
The back of the fox should match the angle of the reference picture, so start by placing a strip of black wool in the back of the fox. Now, wrap the strip of wool around the wire so that it covers the bend. Next, you can feel the wool on the wire using a felting needle. Continue with the ear and snout to complete the fox's body.
The fox's nose and mouth should be drawn on the wire, and the tail should be attached to the body. Helen's helpful tip is to twist the black wool in her hands to make the snout and mouth. Then, you can finish your fox by gluing the ear, tail, and eyes to its body. The final stage is to fill in the face. Once the fox is complete, the snout should have a furry tail.
Once you have made the nose and tail, you can move it around as you want. For example, if you're trying to make a fox with long ears, you can move the ears and put the mouth in the right place. You can then add details and make the fox look like the real thing. If you don't like the position of the face, you can always change the position of the head and tail to get a better representation of the animal.
Once you've made the basic shapes, you can add simple details with a little black wool. Once the fox is complete, you can needle felt it with the red wool. Once you've completed the fox, it's time to add a tail and face. The back of the fox should be as close to the reference picture as possible. Once you've finished making the wolf, you can now begin to feel its fur and use it to decorate your home.
Whether you're a beginner or an expert, needle felting is a great way to make a fox stuffed with wool. The finished fox is easy to care for and makes a wonderful gift for friends or family. There are many types of felted animals, and this one is a great way to make a collection for your kids. You can even create a zoo in your home.
After you've completed the fox's back, you can add the fur to its head and legs. It's important to keep the back in the same position as the reference picture, because it will be difficult to change the shape after it's been finished. A fox with a curved back is a perfect way to create a cute teddy bear. Just follow the directions and you'll have a fab teddy fox.
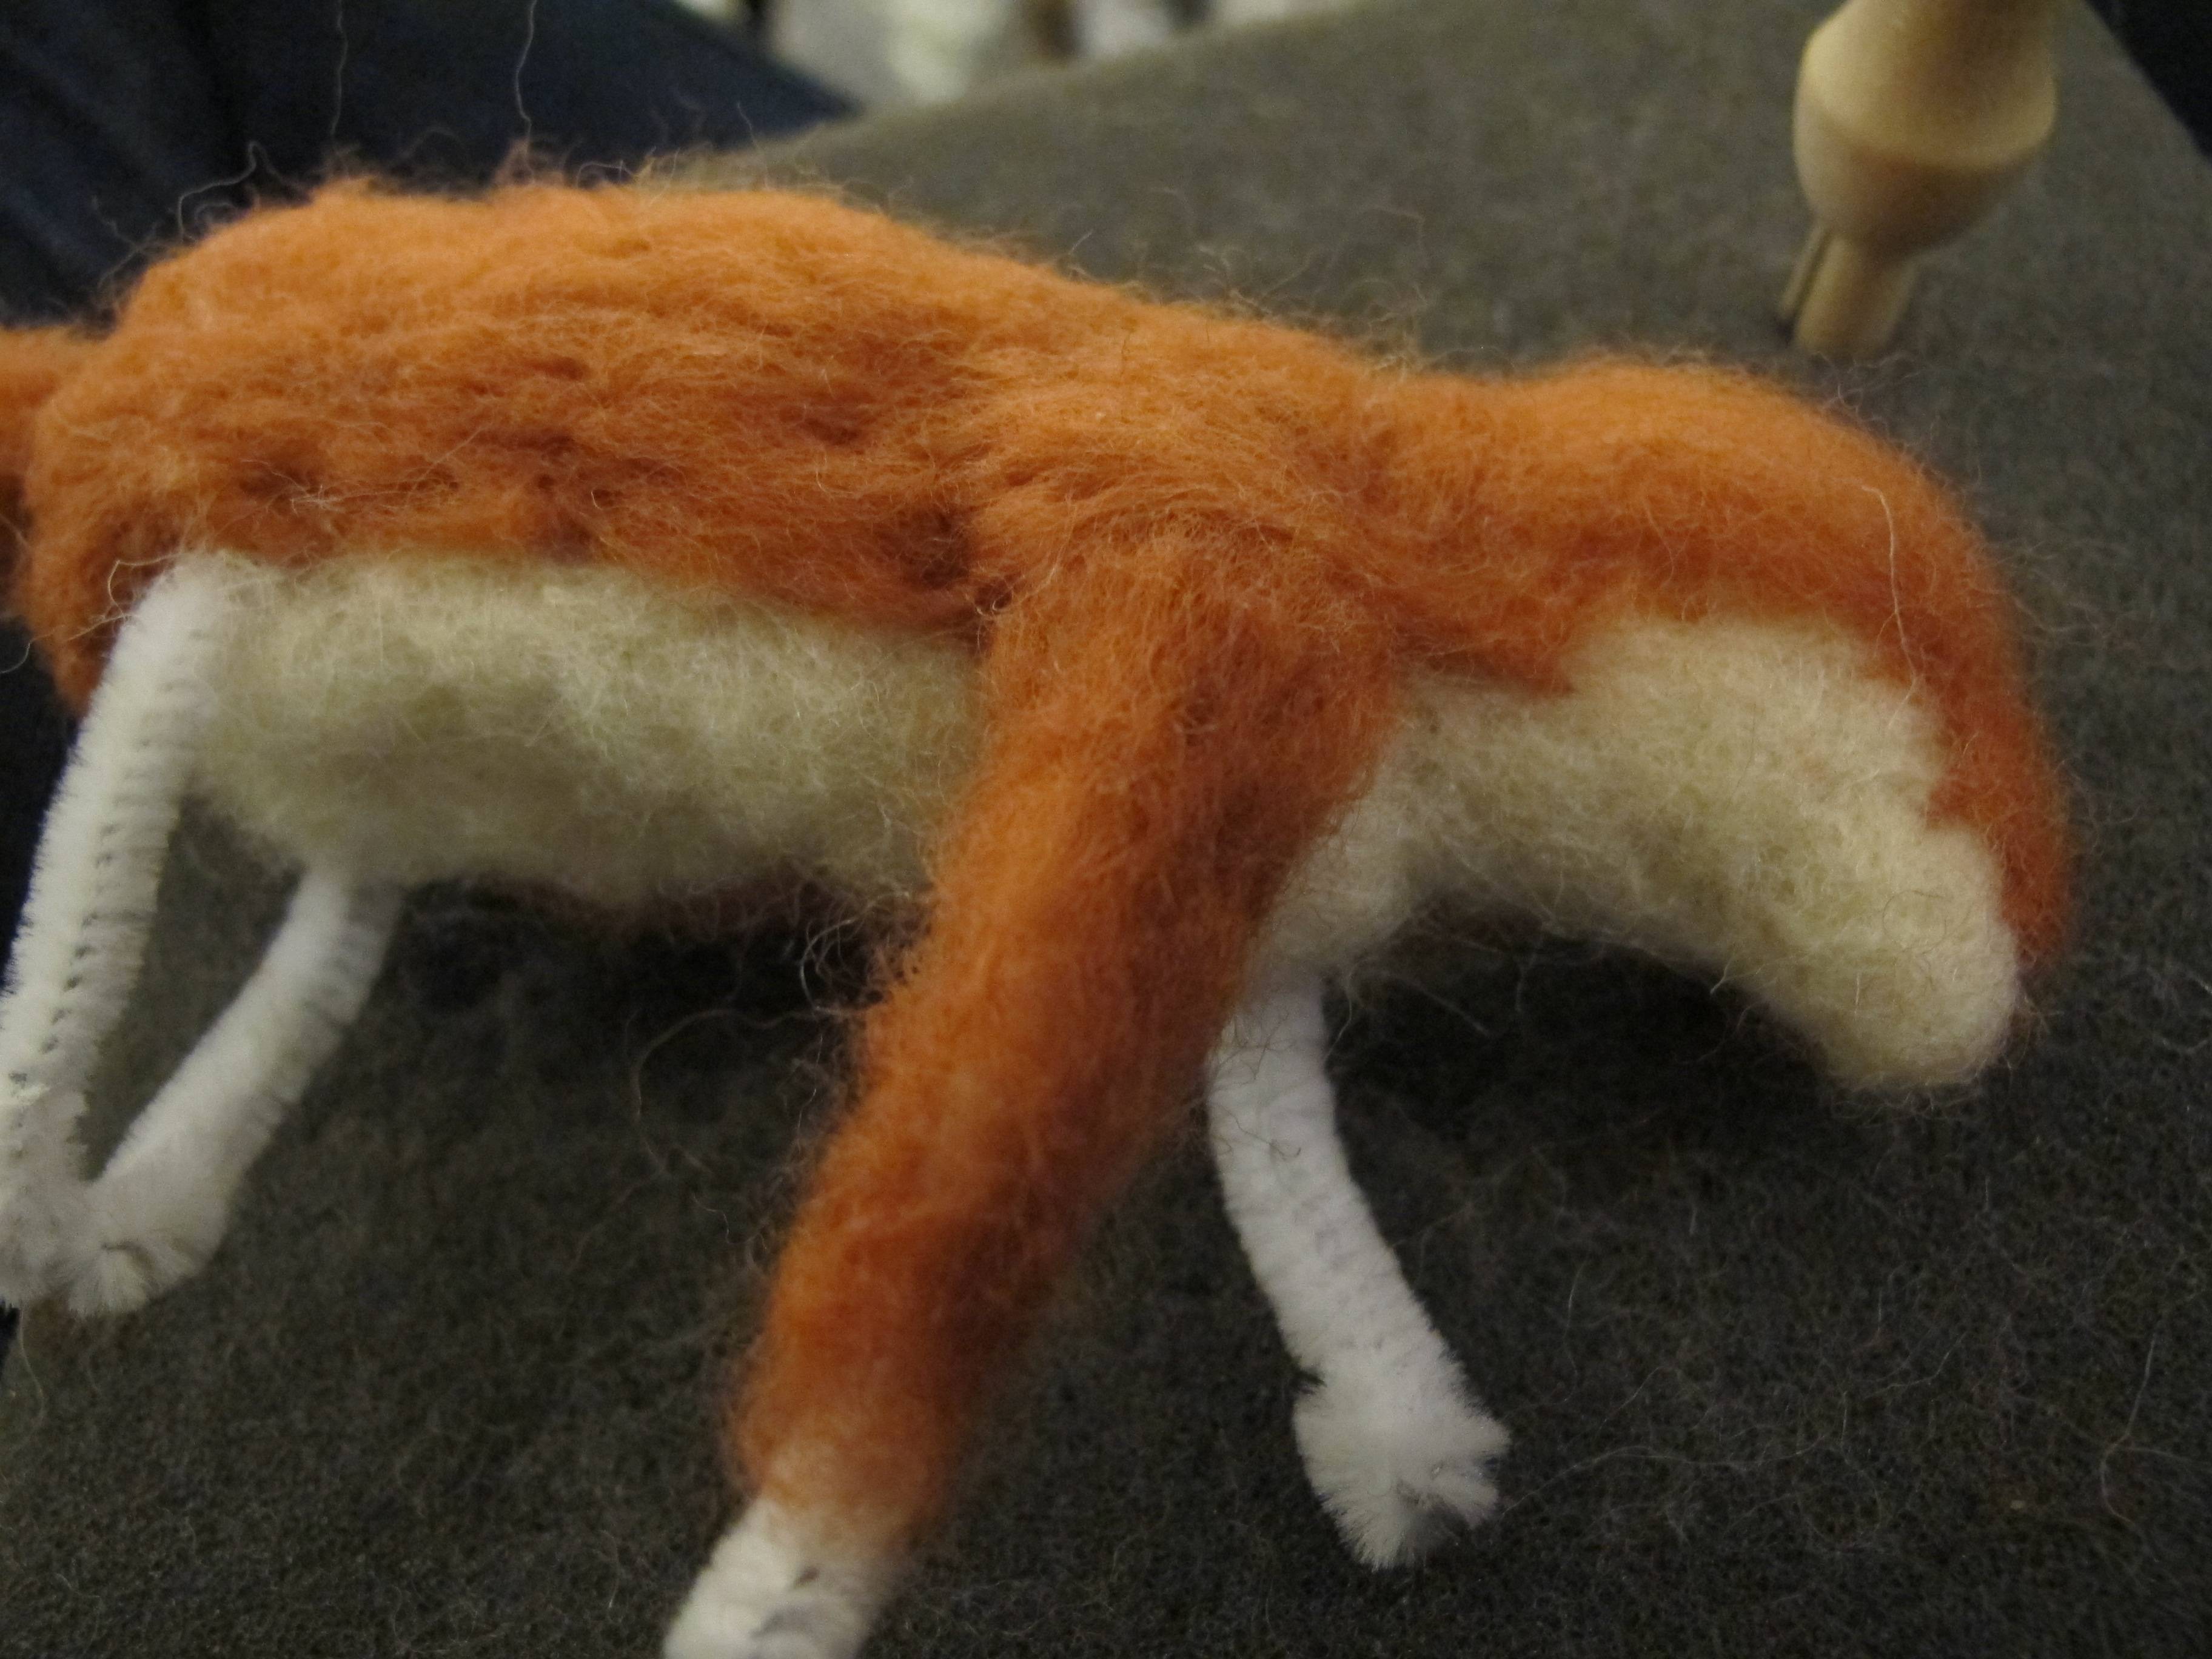
A fox is an easy-to-make, beginner-friendly project. You'll learn how to needle felt a fox with a kit. You don't need any experience or knowledge of needle felting to create an adorable teddy fox. A fox's back should be as long and flat as the tummy. In addition to needle-felting the body, you'll also need some felting needles and a roving to complete the face.
After you've finished the face, you'll need to create the fox's back. The back of a fox is just like any other animal, and it will need a rounded back for it to be a realistic fox. This is a great way to add personality to your teddy bear. And if you have a little extra wool, you can even needle-felt a fox's tail.


